Microsoft 365 Groups are one of the most powerful yet most misunderstood features of the Microsoft 365 platform. For UK businesses that have adopted Microsoft 365 — which now represents the vast majority of SMEs — Groups offer a way to organise team collaboration, streamline communication, and manage shared resources all in one place. Yet many organisations either ignore Groups entirely or create them haphazardly, resulting in a disorganised mess that undermines rather than enhances productivity.
This guide explains what Microsoft 365 Groups are, how they differ from other Microsoft 365 features like distribution lists and shared mailboxes, and provides a step-by-step approach to setting them up effectively for your business. Whether you are an IT administrator managing the Microsoft 365 tenant or a business owner trying to understand what your IT team is talking about, this guide will give you the knowledge you need.
Getting Groups right from the start saves enormous amounts of time and frustration. Organisations that plan their Groups structure before creating them report significantly better adoption rates and fewer support tickets related to collaboration confusion.
What Are Microsoft 365 Groups?
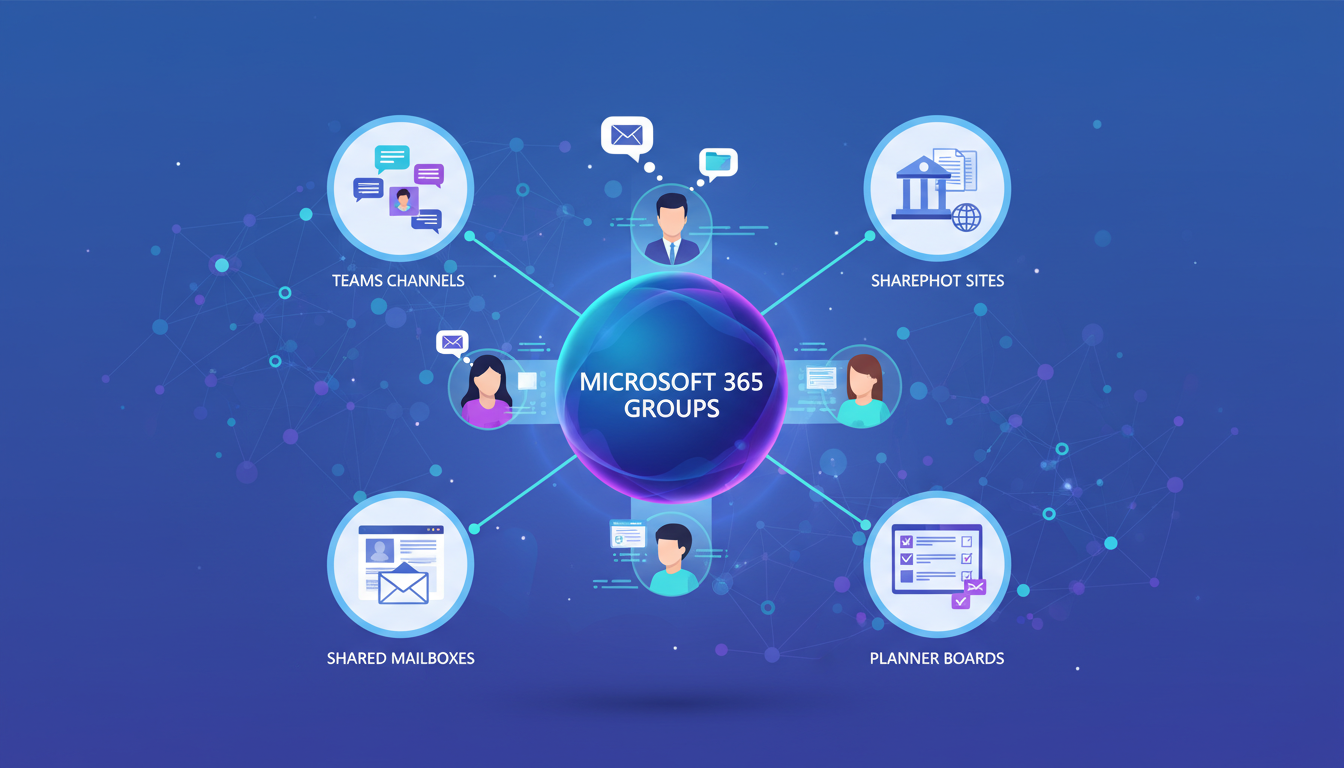
A Microsoft 365 Group is a membership service that provides a shared set of resources for a group of people. When you create a Group, it automatically provisions a shared mailbox and calendar in Outlook, a shared document library in SharePoint, a team notebook in OneNote, a planning board in Planner, and optionally a Microsoft Teams channel. The key advantage is that all of these resources are connected through a single membership — when you add someone to the Group, they automatically gain access to all of the associated resources. When you remove them, all access is revoked instantly.
This is fundamentally different from the old approach of manually managing separate permissions for each resource. In the pre-Groups world, giving a new team member access to the department's shared mailbox, SharePoint site, calendar, and Teams channel required four separate administrative actions. With Groups, it requires one.
One of the most common points of confusion is the difference between Groups, distribution lists, and shared mailboxes. A distribution list simply forwards email to a set of recipients — it has no shared resources. A shared mailbox is a dedicated mailbox that multiple people can access, but it does not include collaboration tools like SharePoint or Planner. A Microsoft 365 Group includes email functionality similar to both, plus all the collaboration resources mentioned above. For most UK businesses, Groups should replace traditional distribution lists and, in many cases, shared mailboxes as well. However, shared mailboxes remain useful for specific scenarios such as info@ or sales@ addresses where you need a permanent, user-independent mailbox.
Planning Your Groups Structure
Before creating a single Group, you need a plan. The biggest mistake organisations make is allowing anyone to create Groups without any governance, which quickly leads to sprawl — dozens or hundreds of Groups with overlapping purposes, inconsistent naming, and abandoned resources that consume storage and create security risks.
Define Your Group Categories
Start by identifying the categories of Groups your organisation needs. Common categories include departmental Groups (Finance, Marketing, Operations, HR), project Groups (Client Project Alpha, Website Redesign 2025), functional Groups (Management Team, Health and Safety Committee), and external collaboration Groups (for working with clients or partners). Each category may have different requirements for privacy, membership policies, and lifecycle management.
Establish a Naming Convention
A consistent naming convention is essential for keeping Groups organised and discoverable. A good naming convention includes a prefix that identifies the category (DEPT for departments, PROJ for projects, FUNC for functional groups), followed by a descriptive name. For example: DEPT-Finance, PROJ-WebsiteRedesign2025, FUNC-HealthSafety. Microsoft 365 allows administrators to enforce naming policies automatically, including required prefixes and blocked words, which prevents users from creating Groups with inappropriate or confusing names.
| Group Type | Naming Convention | Privacy | Typical Membership | Lifecycle |
|---|---|---|---|---|
| Department | DEPT-[Name] | Private | All department staff | Permanent |
| Project | PROJ-[Name]-[Year] | Private | Project team members | Project duration + 90 days |
| Functional | FUNC-[Name] | Private | Committee/team members | Reviewed annually |
| Company-Wide | ALL-[Name] | Public | All employees | Permanent |
| External | EXT-[Client/Partner]-[Purpose] | Private | Internal + external guests | Engagement duration |
Step-by-Step Group Creation
With your plan in place, you can begin creating Groups. While end users can create Groups through Outlook, Teams, or SharePoint, the initial set of organisational Groups should be created by an administrator to ensure they follow your governance policies.
Creating a Group via the Microsoft 365 Admin Centre
Log into the Microsoft 365 Admin Centre at admin.microsoft.com. Navigate to Teams and Groups, then Active Teams and Groups. Click Add a Group and select Microsoft 365 as the group type. Enter the Group name following your naming convention, add a description that clearly explains the Group's purpose, set the privacy level (Private means only members can see content, Public means anyone in the organisation can see and join), assign at least one owner (ideally two, for redundancy), and add the initial members. The Group will be created with all associated resources within a few minutes.
Configuring Group Settings
After creating a Group, configure its settings to match your governance requirements. Key settings include whether external senders can email the Group, whether members can send as or send on behalf of the Group, whether the Group appears in the global address list, and the welcome message that new members receive. For Groups that will be used with Microsoft Teams, you should also create or connect a Teams channel at this stage.
Well-Governed Groups
- Consistent naming makes Groups easy to find
- Clear ownership ensures accountability
- Privacy settings protect sensitive information
- Lifecycle policies prevent abandoned Groups
- New starters quickly find relevant Groups
- Storage and licensing costs under control
- Compliance and audit requirements met
Ungoverned Groups Sprawl
- Duplicate Groups for the same purpose
- Abandoned Groups with orphaned data
- Sensitive data in Public Groups
- No naming convention — impossible to search
- New starters confused about which Group to use
- Storage costs escalating unchecked
- GDPR compliance risks from unmanaged data
Governance and Lifecycle Management
Creating Groups is only the beginning. Ongoing governance is essential to prevent sprawl and maintain a clean, useful collaboration environment. Microsoft 365 provides several built-in tools for Groups governance.
Expiration policies automatically delete Groups that are not renewed by their owners after a defined period — typically 180 or 365 days. This prevents abandoned Groups from accumulating. Before a Group expires, owners receive multiple notifications giving them the chance to renew it. If they do not, the Group is soft-deleted and can be recovered for 30 days.
Creation policies allow you to restrict who can create Groups. Rather than allowing all users to create Groups freely, you can limit creation to a specific security group — typically IT administrators and department heads. This dramatically reduces sprawl without preventing legitimate Groups from being created.
Classification labels allow you to tag Groups with sensitivity levels such as General, Confidential, or Highly Confidential. These labels can trigger specific security settings, such as preventing external sharing for Groups classified as Highly Confidential. For UK organisations subject to GDPR, this classification is particularly important for managing personal data appropriately.
Microsoft 365 Groups Readiness Assessment
Before rolling out Groups across your organisation, it is worth conducting a readiness assessment to identify gaps in your current configuration. The following progress bars reflect the key areas to evaluate. Each metric is scored out of 100, and a score below 60 in any area indicates that remediation should be completed before proceeding with a wider Groups deployment.
These scores are based on typical findings from UK SME environments that Cloudswitched has audited. Most organisations score well on basic tenant configuration but fall short on governance policies and user training — two areas that have the most significant impact on long-term Groups success.
Integrating Groups with Microsoft Teams
For most UK businesses, Microsoft Teams is now the primary collaboration hub, and every Teams channel is backed by a Microsoft 365 Group. Understanding this relationship is essential for managing both effectively. When you create a new team in Microsoft Teams, it automatically creates an underlying Microsoft 365 Group. Conversely, you can Team-enable an existing Group, which adds Teams channels and chat capabilities to the existing shared resources.
The best practice for most organisations is to create Groups through the Admin Centre with proper governance, then Team-enable those Groups that need real-time collaboration capabilities. This ensures that every Group follows your naming convention and governance policies, regardless of whether it was initiated from Teams, Outlook, or SharePoint.
For day-to-day use, most staff will interact with Groups through Teams rather than directly through the Admin Centre. They will post messages in channels, share files through the Files tab (which is actually the Group's SharePoint document library), and schedule meetings through the Group calendar. Training your staff to understand this relationship — that Teams channels, SharePoint libraries, and Outlook Groups are all views of the same underlying Group — dramatically reduces confusion and support requests.
Practical Example: Setting Up Groups for a 50-Person UK Accountancy Firm
To illustrate how these principles work in practice, consider a 50-person accountancy firm based in Manchester. The firm has four departments — Audit, Tax, Advisory, and Corporate Services — plus several client engagement teams and two cross-functional committees (Partner Board and Social Committee). Before implementing Groups, the firm relied on a tangle of distribution lists, individual SharePoint sites with manually managed permissions, and an informal mix of Teams channels created by individual partners.
The first step was a full audit of existing collaboration resources. This revealed 14 distribution lists (three of which were duplicates), 22 SharePoint sites (eight with no active users), and 31 Teams channels (eleven with no activity in the past six months). The firm also discovered that two former employees still had access to three SharePoint sites because their permissions had never been revoked — a significant GDPR risk.
Working with Cloudswitched, the firm designed a clean Groups structure: four departmental Groups (DEPT-Audit, DEPT-Tax, DEPT-Advisory, DEPT-CorpServices), one all-staff Group (ALL-Staff), two functional Groups (FUNC-PartnerBoard, FUNC-SocialCommittee), and a naming template for client engagement Groups (PROJ-[ClientName]-[EngagementType]-[Year]). Each departmental Group was configured as Private with Team-enabled channels, external sending disabled, and two owners (the department head and the IT administrator). The client engagement Groups were set with a 365-day expiration policy, ensuring they would be reviewed and either renewed or archived after each engagement cycle.
Within three months of the rollout, the firm reported a 35 per cent reduction in IT support tickets related to access and permissions, the onboarding time for new joiners dropped from two days to half a day, and the partners reported that finding client documents had gone from a frustrating multi-site search to a single click within the relevant Group. The former employee access issue was resolved automatically — because Groups unify permissions, removing someone from the Group revokes all access simultaneously.
Security and Compliance Considerations for UK Businesses
For UK organisations, Groups governance is not just a matter of convenience — it is a compliance imperative. The UK General Data Protection Regulation (UK GDPR) and the Data Protection Act 2018 require organisations to implement appropriate technical and organisational measures to protect personal data. Ungoverned Groups, where membership is uncontrolled and data classification is absent, represent a tangible compliance risk.
Sensitivity labels, part of Microsoft Purview Information Protection, allow you to classify Groups based on the type of data they contain. A Group labelled as "Highly Confidential" can be automatically configured to prevent guest access, block external sharing, enforce encryption on emails sent from the Group mailbox, and require multi-factor authentication for access. For firms handling financial data, legal records, or health information, these controls are essential.
Data Loss Prevention (DLP) policies can be applied to Groups to prevent sensitive information from being shared inappropriately. For example, a DLP policy can detect when a document containing National Insurance numbers or bank account details is about to be shared externally and block the action automatically, notifying both the user and the compliance team.
Audit logging provides a complete record of Group activities — who was added, who was removed, what files were accessed or modified, and what settings were changed. For organisations subject to regulatory audits (such as FCA-regulated financial services firms or SRA-regulated law firms), this audit trail is invaluable. Microsoft 365 retains audit logs for up to one year on standard plans and up to ten years on E5 or compliance add-on plans.
Common Mistakes and How to Avoid Them
Having helped hundreds of UK businesses implement Microsoft 365 Groups, Cloudswitched has identified a consistent set of mistakes that organisations make. Understanding these pitfalls in advance can save considerable time and avoid disruption.
Allowing unrestricted Group creation. This is the single most common mistake. When every user can create Groups freely, sprawl is inevitable. Within six months of an uncontrolled rollout, a typical 100-person organisation will have between 80 and 150 Groups — many duplicates, many abandoned. The fix is simple: restrict creation to a security group of designated administrators and require a brief justification before each new Group is approved.
Ignoring the email address. Every Microsoft 365 Group gets an email address based on its name. If your Group is called "PROJ-WebsiteRedesign2025," its email will be PROJ-WebsiteRedesign2025@yourdomain.co.uk. Organisations that do not plan their naming convention often end up with email addresses like "Marketing Team 2@yourdomain.co.uk" — confusing for external contacts and embarrassing in professional communications. Always preview the generated email address before finalising the Group name.
Not assigning multiple owners. If a Group has a single owner and that person leaves the organisation, the Group becomes orphaned. No one can manage its membership or settings without administrator intervention. Always assign at least two owners to every Group, and conduct a quarterly review to ensure all Groups still have active owners.
Forgetting about SharePoint storage. Each Group gets a SharePoint site with a default storage allocation. For organisations on Business Basic or Standard plans, this can consume tenant-wide storage quickly if Groups proliferate. Monitor storage usage through the SharePoint Admin Centre and set storage quotas on Groups that do not need large file repositories.
Neglecting user training. Even the best-structured Groups environment will fail if users do not understand how to use it. Invest in brief, practical training sessions — no more than 30 minutes — that show staff how to find their Groups, post in channels, share files, and use the Group calendar. UK organisations report that a single 30-minute training session reduces Groups-related support tickets by up to 60 per cent.
Groups and the Microsoft 365 Licensing Landscape
Microsoft 365 Groups are available across all Microsoft 365 business and enterprise plans, but the governance and compliance features vary significantly by licence tier. Understanding which features are available on your plan is essential for realistic planning.
On Business Basic and Business Standard plans, you get Group creation, shared mailboxes, SharePoint libraries, and basic Teams integration. However, advanced features such as sensitivity labels, DLP policies, expiration policies, and Azure AD dynamic membership are not available — these require either a Business Premium, E3, or E5 plan, or specific add-on licences such as Azure AD Premium P1.
For UK businesses with 50 to 300 users, Business Premium is typically the most cost-effective plan that includes the governance features necessary for a well-managed Groups environment. It includes Azure AD Premium P1 (enabling expiration policies and conditional access), basic sensitivity labels, and Microsoft Intune for device management. Organisations with more advanced compliance requirements — particularly those in regulated industries — should evaluate E5 or the Microsoft 365 E5 Compliance add-on, which provides the full range of Microsoft Purview capabilities including advanced audit, insider risk management, and communication compliance.
Measuring Groups Success: Key Metrics to Track
After deploying Groups, it is important to track adoption and effectiveness metrics to ensure the investment is delivering value. Microsoft 365 provides built-in usage analytics through the Admin Centre, and more detailed insights are available through Microsoft Viva Insights (formerly Workplace Analytics).
Active Groups is the most fundamental metric — how many of your Groups had at least one activity (message, file upload, meeting, or Planner task) in the past 30 days. A healthy environment should show at least 70 per cent of Groups as active. If a significant proportion of Groups are inactive, it suggests either poor adoption or a need to review and clean up stale Groups.
Member engagement measures how many Group members are actively participating versus passively receiving notifications. Low engagement often indicates that the Group's purpose is unclear or that members were added without understanding why. Cross-Group collaboration — the extent to which users participate in multiple Groups across departments — is a strong indicator of organisational cohesion and knowledge sharing.
Support ticket volume related to collaboration, access, and permissions should decline steadily after Groups deployment. If it does not, investigate whether the issue is inadequate training, poor governance, or technical configuration problems. The firms that see the fastest decline in support tickets are those that invest in user training alongside the technical rollout.
Need Help Setting Up Microsoft 365 Groups?
Cloudswitched provides expert Microsoft 365 administration and consultancy for businesses across the United Kingdom. From initial tenant configuration to Groups governance, Teams deployment, and ongoing management, we ensure your Microsoft 365 environment is structured for productivity and security. Get in touch to optimise your Microsoft 365 setup.
Explore Cloud Email Solutions
CloudSwitched
London-based managed IT services provider offering support, cloud solutions and cybersecurity for SMEs.


